Airport car
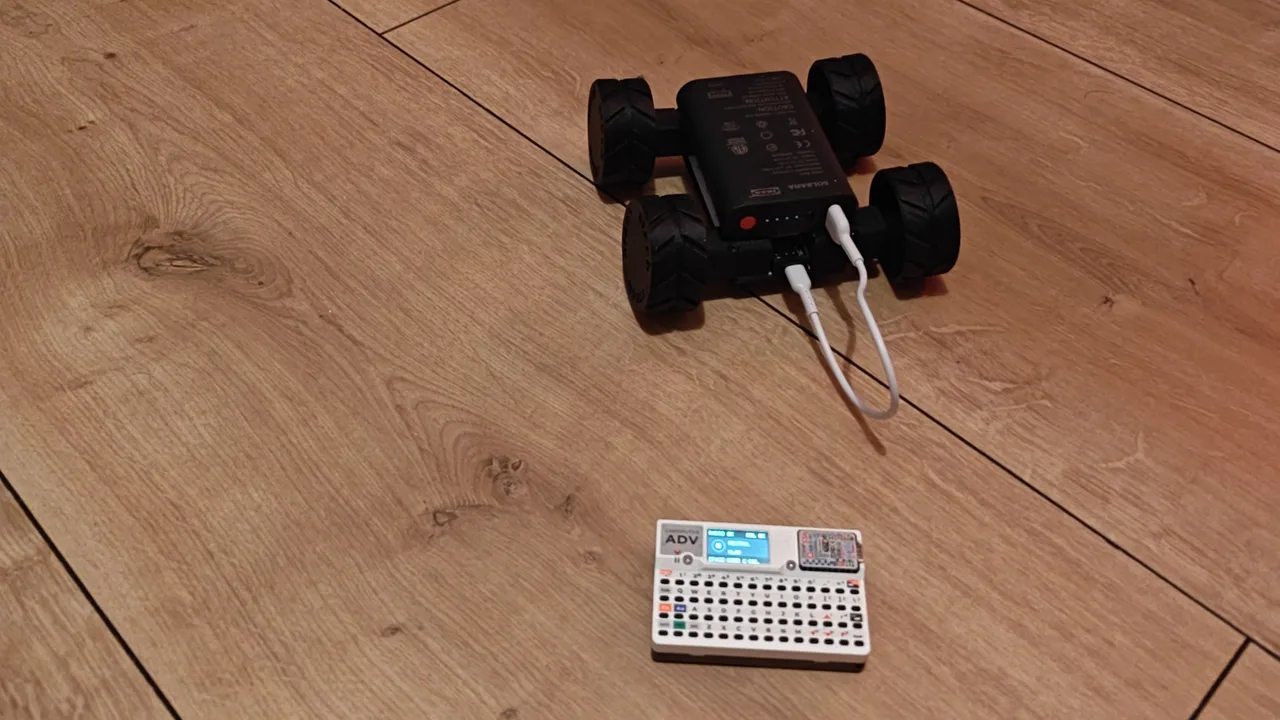
Built at the airport gate before a flight to Norway.
Everything in this build comes in the Big Kit: $129. The 3D-printed parts are not included, but the Big Kit comes with a free 3D print voucher (the Chunky Kit with three), a custom casing included. Design yours with our free, open-source AI CAD tool, or email [email protected] and we will help you print it.
- 14-Port Motherboard×1
- USB-C×1
- DC Motor×4
- Screen×1
- Knob×1
- Button×1
- Light Grid×1
Smart Home · Wi-Fi · Bluetooth
What it does
Four motors, one in each wheel. The knob sets the speed and the button starts it.
Built at the airport gate on 5 November 2026, before the flight to the Trondheim hackathon.
How to build it
- 1Slide the DC motor into port 1.
- 2Slide the DC motor into port 6.
- 3Slide the DC motor into port 9.
- 4Slide the DC motor into port 14.
- 5Slide the button into port 7.
- 6Slide the screen into ports 3 and 4.
- 7Slide the light grid into port 5.
- 8Slide the knob into ports 10 and 11.
- 9Slide the USB-C into port 8 and plug the cable into your computer.
- 10Press Build this: the editor writes the code and uploads it. Or take the finished code below.
On the board
- 1DC MotorFront left wheel
- 6DC MotorRear left wheel
- 9DC MotorFront right wheel
- 14DC MotorRear right wheel
- 7ButtonGo
- 3+4ScreenA name
- 5Light GridAn arrow
- 10+11KnobSpeed
- 8USB-CPower and programming